"But you moved in late January, Molly," you say.
To which I reply, "I know! Can you believe we got it all done so quickly?"
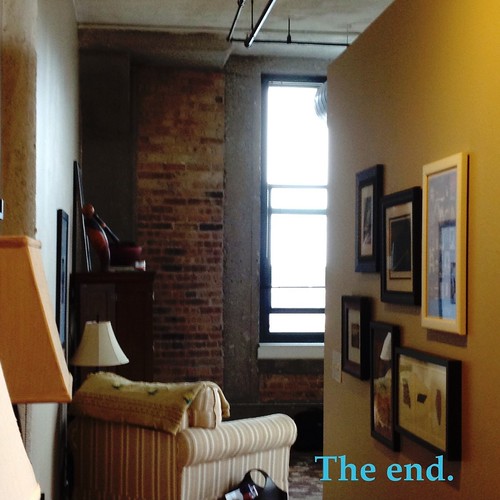
There's a picture tour to come. But first I thought I'd share the brilliant way we hung our hallway picture collage. I'm telling you, the process made it so simple and resulted in zero extra holes in the wall.
{Yes, I just called myself "brilliant." I'm feeling saucy, can you tell?}
Step 1: Lay Out Pictures
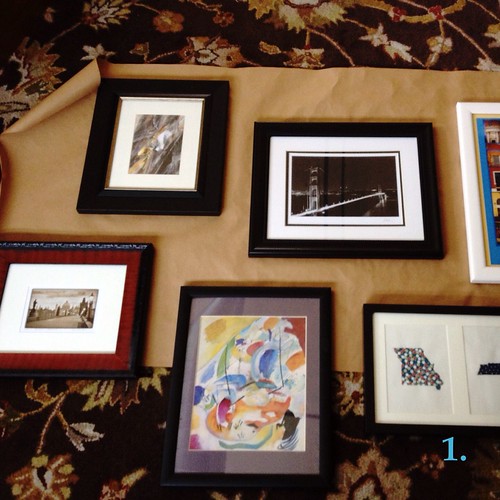
We used a roll of brown wrapping/packing paper that we already had to make the process extremely easy. This way we were able to switch the pictures around, put them closer together or further apart, basically move them until they were just perfect.
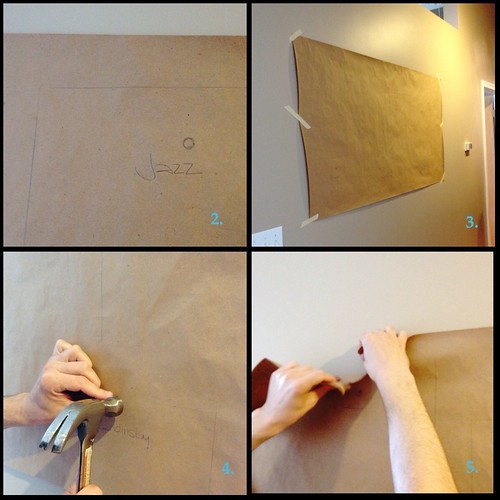
Step 2: Trace the Pictures
Step 3: Hang the Paper on the Wall
Step 4: Drive the Nails into the Wall
Step 5: Rip off the Paper
Step 6: Hang the Pictures

Step 7: Enjoy the Finished Product